


























One Piece At A Time: Windowblind Tutorial Part V
Putting It Together : Taskbars
Monday, March 5, 2012 by PoSmedley | Discussion: WindowBlinds Tutorials
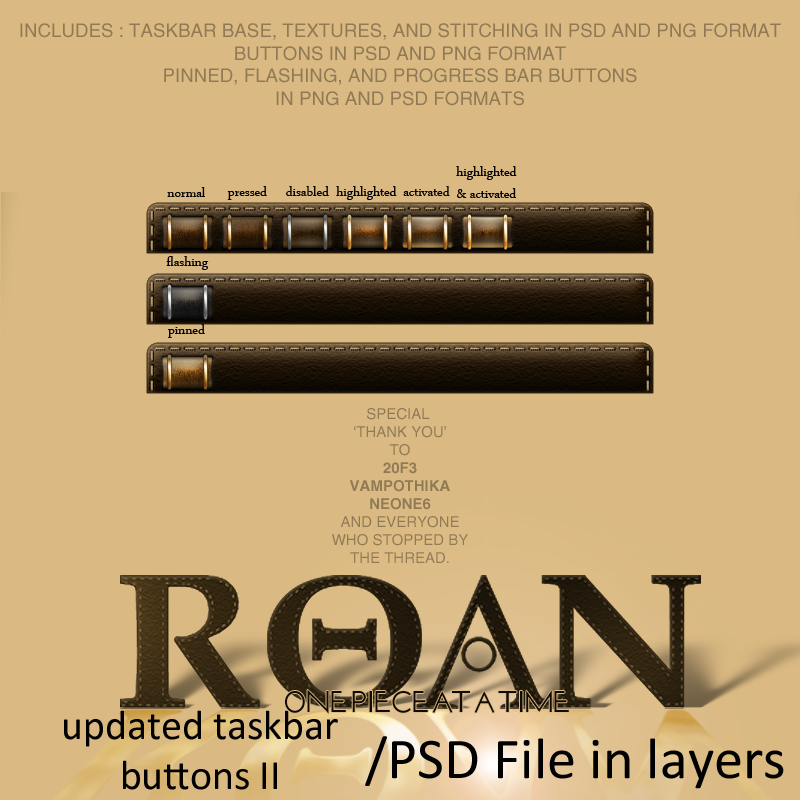
This thread will be dealing with the vertical and horizontal taskbar and all of it's components. I've had to do several redesigns to make the texture work and to accommodate the buttons. As far as the taskbars and buttons go, this should be the last (fingers crossed) redesign.
If you're looking for Part I, II, III, IV you can find them here:
One Piece At A Time : Windowblind Tutorial Part I
Design : Start Menu and Taskbar
One Piece At A Time : Windowblind Tutorial Part II
Design: Title Bars & Window Frames
One Piece At A Time : Windowblind Tutorial Part II
Design: Edit Controls
One Piece At A Time : Windowblind Tutorial Part IV
Putting It Together : Start Menu
PLEASE :
- I am open to suggestions but may not use any of them. Please, don't be offended if I don't use yours.
- Keep the image posting to the skin(s)
- If you want to make a skin to go with this, PM me for the files. My PSD's tend to be a mess, but I save everything and will be happy to share. I am uploading the actual files to the Graphics Gallery here on Wincustomize.
- We'll be skinning for Windows7, maybe Vista. If someone wants to do XP, PM me and I will get you what you need.
- Any files you request will come as I complete them. I won't be jumping ahead. Please be patient.
-----------------------------------------------------------------------------------------------------------------------------------------
The PSD files for the previous threads are in the Graphics Gallery.
Roan WB Title Bars and Window Frames
Roan WB Taskbar Buttons
ROAN WB Start Panel UPDATED
ROAN WB Start Panel Search Mode
Roan Updated Taskbar and Buttons II
 |
|
Page 3 of 4 | |
|
|---|

Reply #42 Wednesday, April 25, 2012 8:30 PM
In the Vertical Taskbar window , under Taskbar Buttons, select Buttons.
Now you have a couple options here (until one of the better informed corrects me).
- You can import the Buttons the same way we did in Post #11 on the first page of this thread using Frame Builder
OR
- You can go to the Horizontal Taskbar window in Skinstudio and go to the taskbar buttons there and select Edit Image. This will open up the image in whatever image editor you have selected as it has been saved in SKS as one image in a png format. You can then save the image, renaming it for the Vertical Taskbar and apply it that way to the Vertical Taskbar without having to go through Frame Builder.
Whichever way you chose, here are the settings you will need to apply.
Image Tab :

Painting Tab:

Save Skin
Reply #43 Wednesday, April 25, 2012 8:36 PM
Moving right down the left side menu of the Vertical Taskbar window, I'm going to skip over the Quicklaunch buttons until I can get back to them and find out where I screwed up.
We'll move down to the Pinned App (Vert).
Again, as I laid out above, you have two options. (FRame Builder or Import the image from the the Horizontal Taskbar, rename and save in your image editor, and apply to the Vertical TAskbar.)
Which ever option you chose, then apply these settings.
Image Tab:

Painting Tab:

Save Skin
Reply #44 Wednesday, April 25, 2012 9:09 PM
***For the Show Desktop Button (Vert & Horz) as well as the Tray Section for both, I have not skinned them. The skin you are given to build with has them already. In my case, I don't know that I need to 're-skin' the Tray Section and I really didn't leave an area open to skin anything special for the Show Desktop Button. The one already in the skin is transparent and does work for the Show Desktop as well as the Tray Section.
I'll leave it up to the Pro's to detail how these areas should be addressed and we will come back to them.
All these items I have skipped or chosen not to skin will be addressed in a single thread once I get through the rest of the skin. 
Reply #45 Wednesday, April 25, 2012 9:13 PM
Thanks! And I'd like to say in case I haven't before, to you (or anyone using a avatar I made) , seeing that avatar whenever I am going through the forums really makes my day and I'm really honored that you continue to use it.
Having said that, I am sure you'll change it now. lol. Whether you do or not, I just appreciate that you gave me the opportunity and you use (or used as the case may be) at all. 
Reply #46 Wednesday, April 25, 2012 9:14 PM
Still on the Vertical Taskbar window, I believe we have just one item left to apply and that is the Expander. We will not be able to import (or cheat...I'm sure someone has accused my method's for #42 and #43 cheats..lol) anything from the Horizontal Taskbar section.
Select Expander and on the Image Tab using the arrow button next to the Edit button, import Roan-TB-Rebar-VR.png.
Use the following settings:
Image Tab:

Painting Tab:

Save Skin
Reply #47 Wednesday, April 25, 2012 9:30 PM
So, on my end for the moment, that about completes the taskbar section. I'm gonna wait at least a day to see what the experts have to say, incase we need to go back to anything (like the Quicklaunch Buttons).
In the meantime, I will start putting together the download file for the Frames and get ready to begin the next thread this week.

Reply #48 Wednesday, April 25, 2012 9:34 PM
Like my mother used to always tell me, "YOU GO GIRL!"
[e digicons]:'([/e]
Reply #49 Wednesday, April 25, 2012 9:37 PM
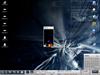
Here are a couple of actual screenshots (modified so I didn't have to do 4 screenshots) of what the taskbar sections look like so far.



Reply #50 Thursday, April 26, 2012 1:01 AM
Nice job Noah! That wall compliments the skin nicely too!

Reply #51 Thursday, April 26, 2012 5:56 AM
Has a sort of Old World feel to it. This ones gonna be a classic.
Reply #52 Thursday, April 26, 2012 8:44 AM
Thanks Xiandi.
The wallpaper is shadows from the past by c31marius and can be found right here on WC.
It was unintentional that I had it up when I did the SS, but it does go rather nicely.
 )
)Reply #54 Friday, April 27, 2012 4:52 AM
adjust your painting margins for your quick launch, i suggest pushing the top and bottom painting margins up to at least 10 or 12...
that little arrow that appeared is a windows arrow, you cant skin it, or get rid of it if you use quicklaunch. its part of quick launch i guess.
sorry i havent been able to keep up with you... (its hard to keep up with you, plus im working on a new wb)
looking very professional so far. i love the graphics. they are well done.
Reply #55 Friday, April 27, 2012 4:53 AM
[quote who="Vampothika" reply="54" id="3140042"]This is really fortunate because I don't know where to start or go next. )[/
go to hell... start wherever you want next. 

Reply #57 Friday, April 27, 2012 8:34 AM
that little arrow that appeared is a windows arrow, you cant skin it, or get rid of it if you use quicklaunch. its part of quick launch i guess.
I'll try adjusting it. I didn't know about the arrow, so I may have to make a different button.
Don't give it a second thought. I'll take what I can get from you guys.


Reply #59 Sunday, September 1, 2013 2:03 PM
I enjoyed re reading these threads today and still hold onto hope that Noah will pick up work on this skin again. Especially seeing as I haven't been inspired to skin much recently it would be a way for me to skin something without actually doing it!

Please login to comment and/or vote for this skin.
Welcome Guest! Please take the time to register with us.
There are many great features available to you once you register, including:
- Richer content, access to many features that are disabled for guests like commenting on the forums and downloading skins.
- Access to a great community, with a massive database of many, many areas of interest.
- Access to contests & subscription offers like exclusive emails.
- It's simple, and FREE!
|
|
Page 3 of 4 | |
|
|---|
Reply #41 Wednesday, April 25, 2012 8:07 PM
They look like crap. They are showing as a lot smaller than I made them and the little dimple effects I put in the corners are terrible. Maybe they will work better as actual quicklaunch buttons in Vista?? Where in the hell did the little arrows come from??????? I'll get back to this when I am done posting for the Vertical Taskbar.
actual button >>

how it looks applied>>>